

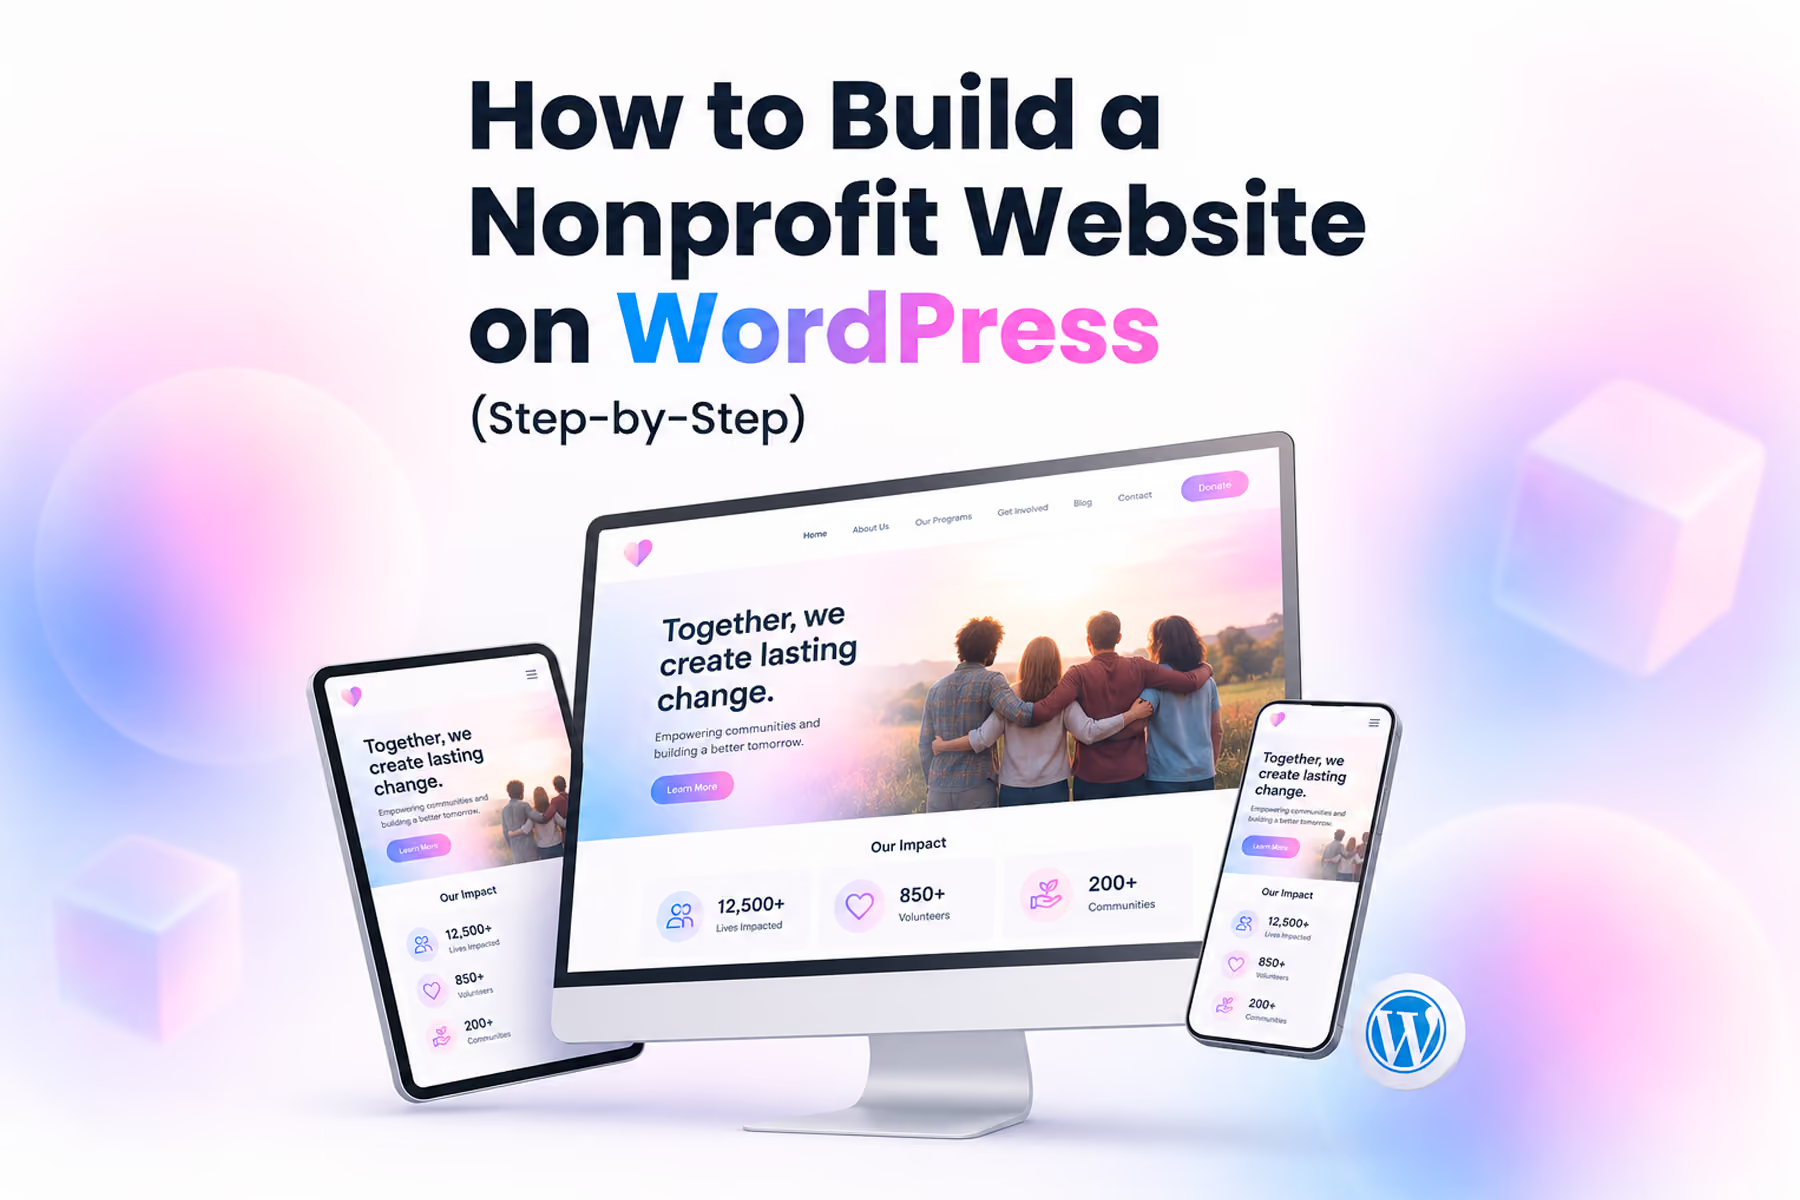
WordPress powers more nonprofit websites than any other platform. It's flexible, free (the software itself), well-supported by a global developer community, and has a robust ecosystem of nonprofit-specific plugins for donation management, event handling, and volunteer coordination.
It's also the platform we see most often when a nonprofit comes to us for a redesign: because while WordPress is excellent, how it gets built matters enormously. There's a wide spectrum between a well-configured, high-performing WordPress site and a patched-together collection of plugins that barely holds together.
This guide walks through how to build a nonprofit WordPress website correctly, from hosting setup to launch.
Before You Start: What You Need
Domain name
Your domain (yourorg.org or yourorg.com) is registered separately from your website. Use a registrar like Namecheap, Google Domains, or Cloudflare .org domains are traditional for nonprofits and carry some trust signal value.
Hosting
WordPress.org software requires hosting: a server where your site files live. For nonprofits, we recommend:
- WP Engine: Premium managed WordPress hosting with nonprofit discounts. Excellent performance and security. Best for organizations that want hands-off server management.
- SiteGround: Good performance, accessible pricing, solid WordPress-specific features.
- Bluehost: Budget-friendly, widely used, appropriate for small organizations.
Avoid shared hosting providers that oversell cheap plans: they often result in slow, unreliable sites that hurt user experience and SEO.
Related: Best Web Hosting for Nonprofits in 2026 →
Step 1: Set Up WordPress
Installing WordPress has become nearly automatic on most managed hosts. Most hosting control panels (cPanel, Plesk) have a one-click WordPress installation option.
After installation, complete the initial setup:
- Update WordPress to the latest version immediately
- Delete the default "Hello World" post and sample page
- Set your permalink structure (Settings → Permalinks → Post name is the SEO-friendly choice)
- Configure your site title and tagline (Settings → General)
- Set your timezone and date format
Step 2: Choose and Install a Theme
Your theme controls the visual structure of your WordPress site. For nonprofits, we typically recommend starting with a multipurpose theme that offers flexibility rather than a hyper-specific "charity theme": the latter often locks you into layout patterns that may not match your actual user flows.
Our recommended starting points:
Astra
Fast, lightweight, and compatible with virtually every major page builder. Free core version is sufficient for most nonprofits, with Pro available for advanced features. Pairs well with Elementor.
Generatepress
Similar to Astra in philosophy: fast, clean, flexible. Particularly good for performance-conscious organizations.
Divi
More design control than Astra or Generatepress, but more complex. Good for organizations that want more design sophistication and are willing to invest time in the learning curve.
To install: Appearance → Themes → Add New → search for your chosen theme → Install → Activate.
Step 3: Install Essential Plugins
Plugins extend WordPress functionality. Here are the ones we consider essential for nonprofit sites:
SEO
- Rank Math or Yoast SEO: Install one (not both). Configure meta titles, descriptions, sitemaps, and schema markup. Non-negotiable.
Donation management
- GiveWP: The most fully-featured free donation plugin for WordPress. Supports one-time and recurring donations, donor management, and extensive integrations. Free core plugin; premium extensions available for specific features.
- WPForms (with Stripe add-on): Alternative for simpler donation forms.
For organizations wanting to integrate external platforms (Fundraise Up, Givebutter, Donorbox): these typically work via embed code or Zapier rather than a WordPress plugin.
Forms
- WPForms (free version) or Gravity Forms (premium): For volunteer applications, contact forms, newsletter sign-ups.
Security
- Wordfence: Free WordPress firewall and malware scanner. Essential.
- UpdraftPlus: Automatic backups. Non-negotiable. Set up daily backups from day one.
Performance
- WP Rocket (premium) or W3 Total Cache (free): Caching improves page load speed significantly.
- Imagify or ShortPixel: Image compression.
Accessibility
- WP Accessibility: Basic accessibility improvements for common WordPress issues.
- UserWay: Accessibility widget (note: widgets supplement but don't replace proper accessible design).
Step 4: Build Your Page Structure
Before building pages, map your site architecture. For a typical nonprofit, this means:
Primary navigation:
- Home
- About (Who we are, Our team, Our mission)
- Programs / What We Do
- Get Involved (Donate, Volunteer, Partner)
- Impact / Results
- News / Blog
- Contact
Build each page with your audience's needs driving the structure. The homepage is a traffic director: it gets each user type oriented toward their path quickly. Program pages explain what the organization does in clear, specific terms. Donation and volunteer pages have minimal friction and focused CTAs.
Step 5: Configure Your Donation Flow
This is the most important technical configuration on your nonprofit WordPress site.
If using GiveWP:
1. Install the plugin and navigate to GiveWP → Settings
2. Configure currency, donation amounts, and form fields
3. Set up your Stripe or PayPal gateway (Stripe recommended for credibility)
4. Create your donation form: keep fields minimal (name, email, payment)
5. Add a compelling title and impact statement to the form
6. Embed the form on your Donate page
If integrating an external platform (Fundraise Up, etc.):
Follow the platform's WordPress integration documentation. Most provide a JavaScript snippet or WordPress plugin that embeds their hosted form.
Critical: Test the entire donation flow from beginning to confirmation on mobile before launch. Then test again.
Step 6: SEO Configuration
SEO is built into the structure from the start. With Rank Math or Yoast installed:
- Set a unique meta title and description for every page
- Ensure your H1 heading is your primary keyword for that page
- Configure your XML sitemap and submit it to Google Search Console
- Set up Google Analytics and Google Search Console (install Site Kit by Google plugin for easy configuration)
- Verify that no pages are accidentally set to "noindex"
For content: each page should have a clear primary keyword, sufficient content to be genuinely useful (not keyword-stuffed thin content), and internal links to related pages on your site.
Step 7: Mobile Optimization and Performance
Before launch:
- Test every page on a real mobile device (not just a browser simulation)
- Check that all forms are usable on mobile keyboards
- Verify that tap targets (buttons, links) are large enough
- Run a page speed test via Google PageSpeed Insights or GTmetrix
- Compress all images (most should be under 200KB for web)
Target: under three seconds load time on mobile. This is achievable with proper configuration.
Step 8: Analytics Setup
Configure before launch:
- Create a Google Analytics 4 property and install the tracking code
- Set up Google Search Console and verify your domain
- Configure conversion events in GA4: donation form view, donation form submission, volunteer application submission
- Test that conversion events are firing correctly before launch
Step 9: Launch and Post-Launch
Pre-launch checklist:
- [ ] All pages have meta titles and descriptions
- [ ] No broken links
- [ ] Donation flow tested end-to-end on mobile and desktop
- [ ] Analytics and Search Console configured and verified
- [ ] SSL certificate active (hosting provider handles this)
- [ ] Backups configured and tested
Post-launch:
- Submit sitemap to Google Search Console
- Monitor GA4 for early conversion data
- Check Google Search Console for crawl errors
- Verify donation platform is correctly recording transactions
When WordPress Isn't Enough
WordPress can grow with almost any organization: but it needs to be built correctly, maintained consistently, and managed by someone who knows what they're doing.
When we see WordPress sites fail, it's almost always for one of these reasons: they were built without user research guiding the structure, they're under-maintained (updates delayed, plugins conflicting, backups not running), or they've accumulated so many patches and workarounds that a rebuild is cheaper than continuing to maintain them.
If you're already on WordPress and you're encountering these problems, a rebuild is often the right move: not a migration.
Talk to us about rebuilding your nonprofit WordPress site →
Wandr Studio builds custom WordPress sites for nonprofits. See our work →
Related WANDR case studies: WWF-Canada · Mercy For Animals · CEED Global